Unveiling the Hidden Quarry Guard Key reveals a world teeming with NPCs, dungeons, and foes lurking around every bend. Although the exploration areas are limited, they are rich with possibilities, promising even more adventures in upcoming updates.
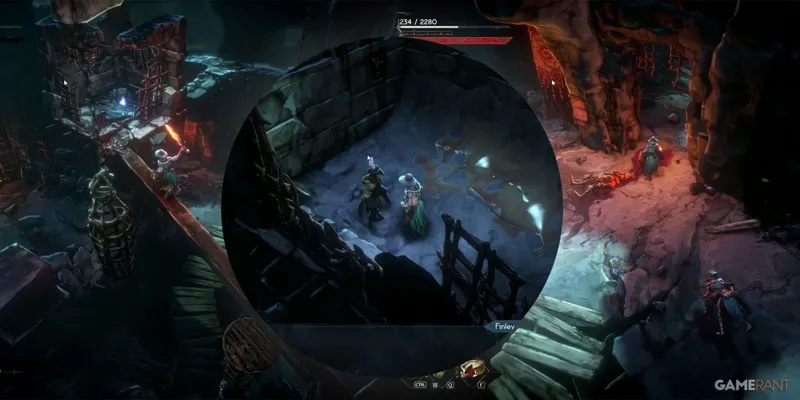
Deep within the twists and turns of the Nameless Path lie a captive named Finley, confined behind a securely locked door. The key to his freedom, the Quarry Guard Key, is cunningly concealed on a hard-to-reach hanging platform.
Discovering Finley in the Nameless Path
A mysterious individual is trapped within the confines of the Nameless Path's prison, presenting a challenge to would-be rescuers. To locate this prisoner, follow these steps:
- Visit the second Whisper in the Nameless Path, situated near the western wall.
- Exit the building and ascend, following the paved path to a gate.
- Continue upwards, crossing bridges until you reach an open-air prison.
- Operate the lever counterclockwise to unlock the gates sequentially until the third gate swings open.
- Pass through the gate to find the prisoner tucked away in a corner.
- Climb the broken wall on the right, moving to the right along it. The gate barring access to the prisoner should be directly overhead.
Locating the Quarry Guard Key
The Quarry Guard Key is essential for freeing Finley from his confinement in the Nameless Path. Follow these instructions to secure the key:
- Head to the prison within the Nameless Path.
- Climb the broken wall in the third room and head left to reach the roof of the adjacent chamber.
- Ascend the ledge on the left and scale the wall using the ladder.
- Retrace your steps back across the broken bridge to another ledge.
- Climb the vines on the left and proceed towards the camera.
- Cross the archway until you reach the end.
- Descend where the arch begins to slope, landing on a small platform below.
- Advance and traverse the metal beam to reach a cage containing the key.
Alternatively, a more challenging platforming route exists, with higher risks of failure. For those daring enough to attempt it, follow these steps:
- Descend the same ladder as in the previous method and cross the precarious bridge.
- Instead of proceeding all the way, leap onto the top of the arches to the right of the bridge.
- Navigate to where the arches meet the wall, encountering a series of hanging metal cages that require precise jumping.
- Execute a sprinting jump to reach the first cage, the simplest leap in this sequence.
- The second chandelier jump demands more precision. Edge to the right of the current chandelier, sprint while holding the down and left keys, and jump.
- Repeat the same maneuver for the third chandelier, sprinting and leaping from the edge.
- Bypass the fourth chandelier by vaulting directly to the rising stone wall ahead using the down and left keys.